Adding a User to your GiGS Account
This guide explains how to add a new user to your GiGS profile. Follow these steps to ensure the new user is added successfully.
This guide explains how to add a new user to your GiGS profile. Follow these steps to ensure the new user is added successfully.
Prerequisites
- You must be the account owner to add new users.
Step-by-Step Instructions
1. Access Your Profile
- Navigate to your profile by clicking on your profile icon and name, located at the bottom left of the screen.
- Click on View Profile.
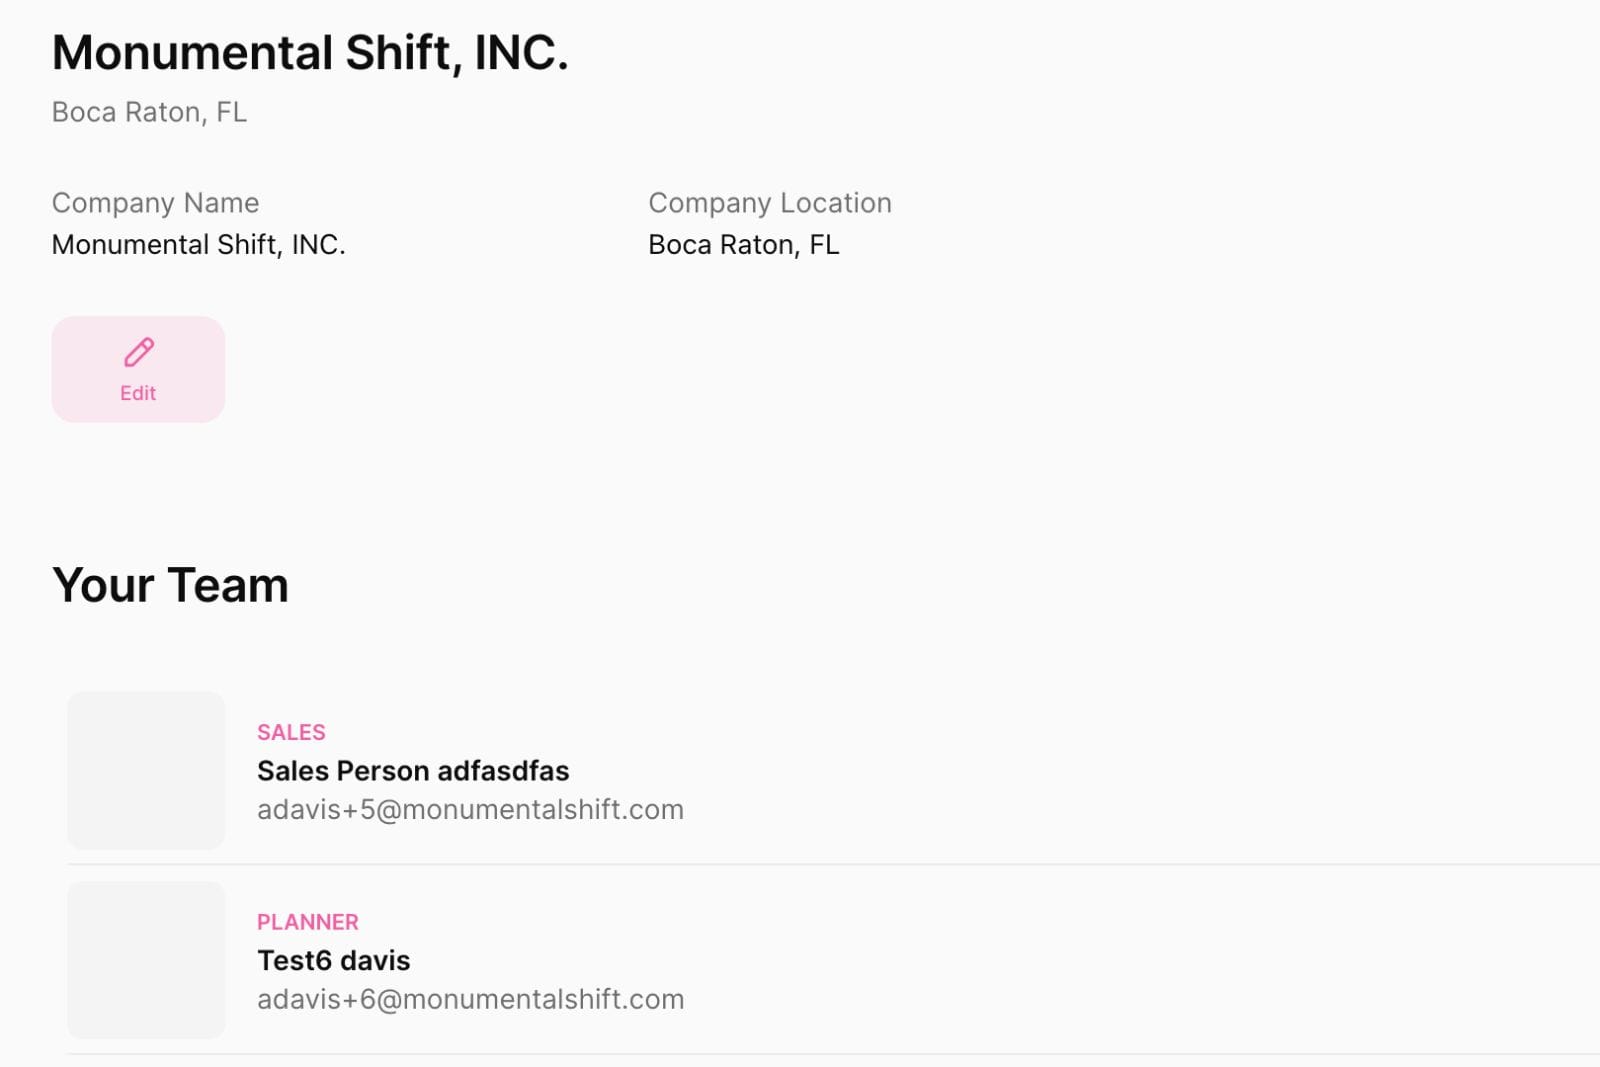
2. Navigate to Company Information
- Under the Company Information section, you will see your company's name and location. Click on the company name (not the three little dots.)
3. Add a New User
- Enter the First Name, Last Name, and Email Address of the new user you wish to add.
- Ensure that the email address is correct as it may be used for future communications or notifications.
Important Note:
- Submitting the new user's information does not automatically send them an email or any login information. You must provide them with the URL for GiGS so they can log in.
4. Confirm the New User
- After entering the user’s details, you can view the newly added user on your profile.
- You have the option to edit the user's information at any time by selecting their profile.
5. Manage User Roles
- You can assign and change the user's role within the organization.
- Note that currently, each user can only have one role.
Conclusion
Once you've added the user, they can log in to GiGS and begin utilizing the platform. Remember to communicate the login details to the new user, as the system will not send this information automatically.
For any further adjustments or to manage user roles, you can revisit the user’s profile through the steps outlined above.